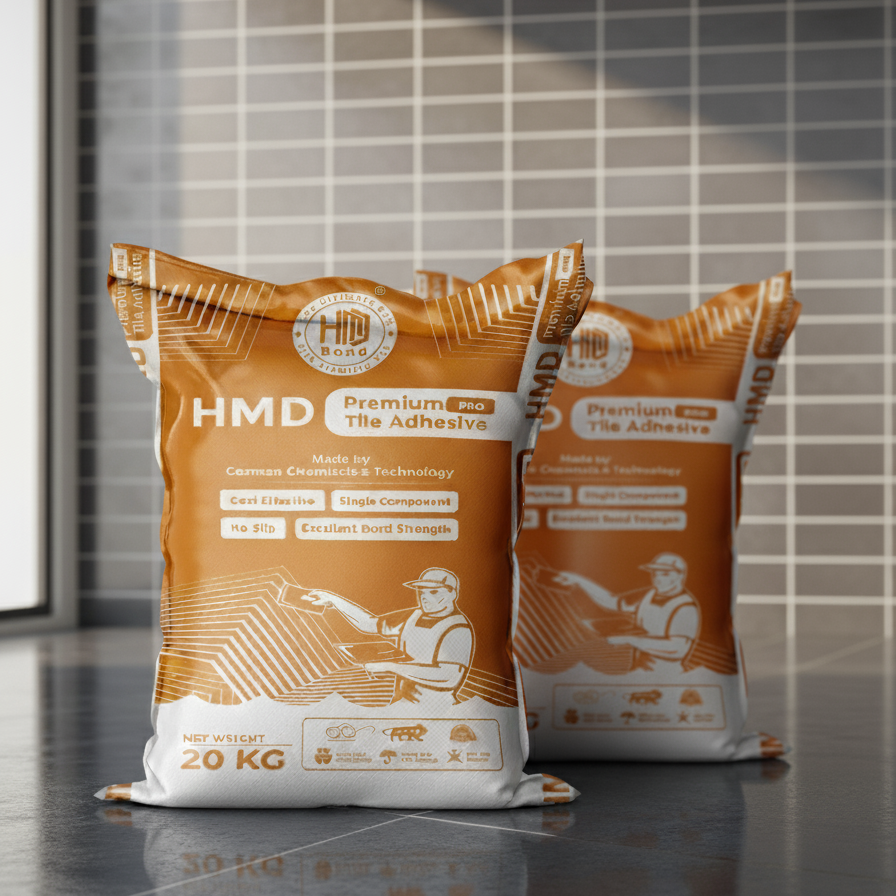
HMD Premium PRO Tile Adhesive is a high-performance adhesive formulated using German technology, combining advanced polymers, cellulose, and functional additives to deliver excellent strength, bonding, and durability. Specially designed for fixing tiles, marbles, stones, and granite, this adhesive ensures long-lasting grip, flexibility, and superior finish for both interior and exterior applications.
The Grey Base variant is ideal for general tile fixing and flooring, while the White Base version ensures premium whiteness and is perfect for light-coloured stones and decorative tiles.
Key Highlights:
German Polymer Technology – ensures superior bonding and flexibility.
Strong Adhesion – ideal for heavy tiles, marble, and granite.
Crack-Free Finish – prevents debonding due to temperature variations.
Long Working Time – easy to mix, spread, and adjust.
Weather Resistant – suitable for both interior & exterior surfaces.
Available in Two Bases: Grey Base – for strength & durability. | White Base – for premium whiteness & finish.
Features
HMD Bond, every product is engineered to deliver flawless performance, superior adhesion & lasting strength ensuring that every wall stays protected, beautiful & ready for paint.
Strong Bonding Power
Holds tiles firmly in place and prevents them from coming loose over time.
Easy to Mix and Apply
Just add water and mix — spreads smoothly and saves time during installation.
Flexible and Crack-Free
Adjusts to small surface movements and temperature changes without cracking.
Works in All Conditions
Performs well in both indoor and outdoor areas, even in wet or humid places.
Long Working Time
Gives enough time to position and adjust tiles properly before it sets.
Economical Coverage
Covers a large area with less material, reducing overall cost and wastage.
Technical Specifications
Usage
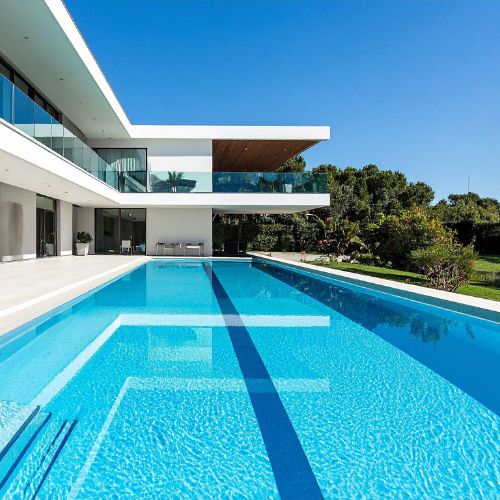
Can be used on all types of interior and exterior walls, floors, and stairs.
Water Ratio
Use approx. 25–30% clean water per 20 kg bag.
Setting Time
Takes 12–15 hrs to set (varies with climate).
Following Standard (ISO)
QCCI/25Q/MAL/6102
Coverage
(Approx. area covered per 20 kg bag)
Tile Thickness
Coverage Area
3 mm
35–40 sq ft
5 mm
25–30 sq ft
6 mm
23–28 sq ft
8 mm
20–25 sq ft
12 mm
15–18 sq ft
Applications
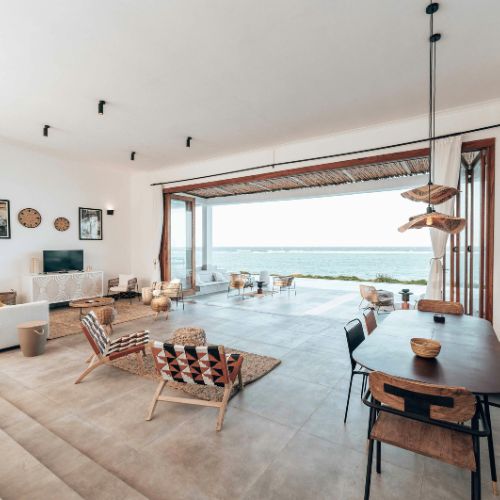
Residential Buildings
Residential Buildings
Application Process
Clean the Surface – Remove dust, oil, and loose particles from the wall or floor.
Spread Adhesive – Use the flat side of a trowel to spread an even layer.
Comb the Surface – Create uniform grooves with the notched side of the trowel.
Press Tiles Firmly – Place tiles within the open time and press firmly into position.
Level the Tiles – Tap gently with a rubber hammer for even alignment.
Clean Excess Material – Wipe off extra adhesive with a damp sponge.
Grouting – Allow 24 hours of drying time before grouting or foot traffic.